| REQUIREMENTS |
| Permission |
All user levels |
| Connectivity |
Online only |
Background
Users can specify the order of tables in the InfoEx report.
The following information assumes you are logged in to the InfoEx application, you have selected an operation (if you have more than one valid operation) and you have selected 'Reports' on the main application menu.
Step-by-step-description
| 1.
|
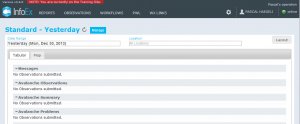 Fig. 1: How to access the available tables |
| 2.
|
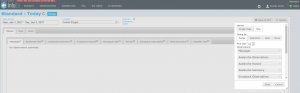 Fig. 2: Available tables for the InfoEx report |
| 3.
|
Activate the desired tables for your InfoEx report by clicking on their label. Activated tables will appear in full contrast, deactivated tables will appear greyed out. You may adjust the ordering of the tables by dragging the labels into the desired sequence. Once you are satisfied with your selection select Okay. The selected tables will immediately be downloaded or refreshed.
|

