Avalanche Control Configuration
| REQUIREMENTS | |
| Permission | Operation Administrator and higher |
| Connectivity | Online only |
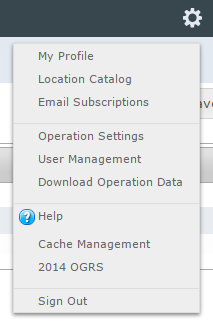
This page explains how to configure data entry for the avalanche control extension. See the avalanche control workflow module for configuration information for the avalanche control extension workflow module used for planning prior to field operations. The configuration is found in 'Operation Settings' accessed from the administration menu (cog wheel) (Fig. 1).
Background
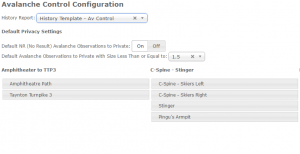
The avalanche control configuration (Fig. 2) allows you to specify the settings you would like to use for your avalanche control data entry.
However, before you can successfully configure your data entry for this extension you must ensure your location catalog is set up to allow this.
In your location catalog you need to do the following:
- Add your control routes. You can add photos to control route locations. These photos appear on the control route data entry screen for reference but CANNOT be drawn on using the photo overlay drawing functionality.
- Add your avalanche paths as child locations of your control routes or drag and drop existing avalanche paths to their parent control route. Photos can be added to avalanche path locations and CAN be drawn on using the photo overlay drawing functionality during data entry.
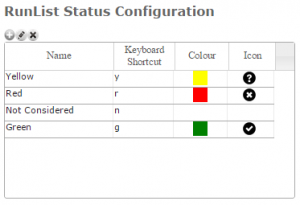
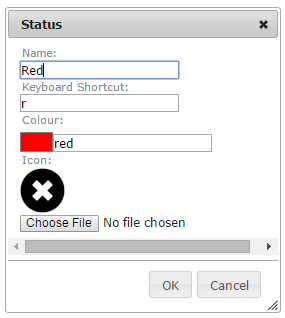
Each of these ratings are associated with a keyboard shortcut for most efficiently rating locations during a workflow, a color and an icon for displaying the ratings within the workflow step, the workflow summary, the PDF print out and any location status reports.
With the exception of the 'Not considered' rating, it is possible to modify the default ratings and add additional ratings to create a configuration that fits the needs of your operation.
Step-by-step description
Related documents
Other operational settings
- Specifying the operational setting for entering and submitting observations
- Specifying the status ratings for the run list module (additional subscription required)
- Configuring the avalanche control extension (additional subscription required)
Run list extension
Functionality tested by
- Nov. 8, 2014: Pascal Haegeli


