| REQUIREMENTS |
| Permission |
Operation Administrator or higher |
| Connectivity |
Online only |
This document describes how to import the geometry for a new or existing location from a Google Earth KML file. This method can be used both for adding a geometry to a new location and changing the geometry of an existing location.
Background
While this document describes how to create a location in Google Earth and import it into the InfoEx system, it is also possible to export geometries in KML format in most other Geographic Information Systems (e.g.,ESRI ArcGIS, Q GIS). If geometries are exported from a high quality source, it is advisable to simplify the geometries to reduce the number of points included in the geometry to a reasonable number before importing them into the Infoex system. Having geometries with excessive numbers of points will unnecessarily slow down your InfoEx application.
| ISSUE |
The system currently does not fully support multi-geometries (i.e., multiple, separate polygons, lines or points associated with a single location).
Workaround: These will be split in to as many single-geometries as required. Please contact CAA InfoEx staff to discuss possible solutions.
JIRA: -772 (Aug.13, 2013) |
Step-by-step description
Creating a location geometry in Google Earth
| 1.
|
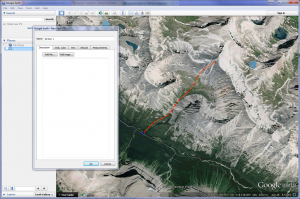
 Fig. 1: Creating a line geometry for a ski run in Google Earth. |
| 2.
|
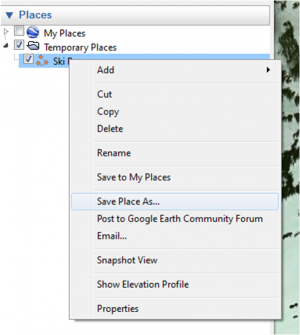
 Fig. 2: Right-click menu in Google Earth.
| NOTE |
It is important that the location is visible in Google Earth (check box in the location catalog checked) when you save it and that you choose KML as the file format. The InfoEx system is not able to read 'KMZ' files, which is the default format for Google Earth files. |
| NOTE |
If you have multiple locations that you would like to upload, you can save them all in the same KML file. Organize your locations in a folder in Google Earth and right click on the folder to get to the 'Save Place As ...' option. This will save all of the geometries included in your folder in a single file. |
|
Uploading the geometries to the InfoEx system
| 1.
|
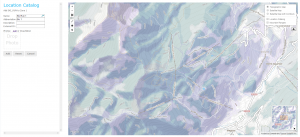
 Fig. 3: Details of ski run filled in before clicking on  to load KML file.  below the panel at the top right of the map (Fig. 3). This will open the regular window for opening a file on your computer. Navigate to the KML kml file that you want to import. Select the file and click on Open. The geometries of the KML file are now displayed on the map. In addition, the name of the KML file now appears in the panel at the top right of the map with its box checked. below the panel at the top right of the map (Fig. 3). This will open the regular window for opening a file on your computer. Navigate to the KML kml file that you want to import. Select the file and click on Open. The geometries of the KML file are now displayed on the map. In addition, the name of the KML file now appears in the panel at the top right of the map with its box checked.
|
| 2.
|
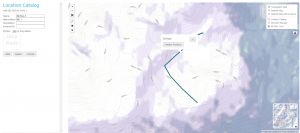
 Fig. 4: Confirmation message for selecting a location. |
| 3.
|
Click on Add to add the new location to the catalog and return to the regular location catalog screen.
| NOTE |
Depending on the detail of the location geometry (i.e., the number of included points) and your internet connectivity, it might take a few seconds to upload. |
|
Related documents
Functionality tested by


